Trampolines are a great piece of equipment for not just kids but also for adults. Everybody loves to jump on a trampoline for fun but it can also be a great way to exercise.
The only problem with buying a trampoline is that it does not come assembled because there would be way too big.
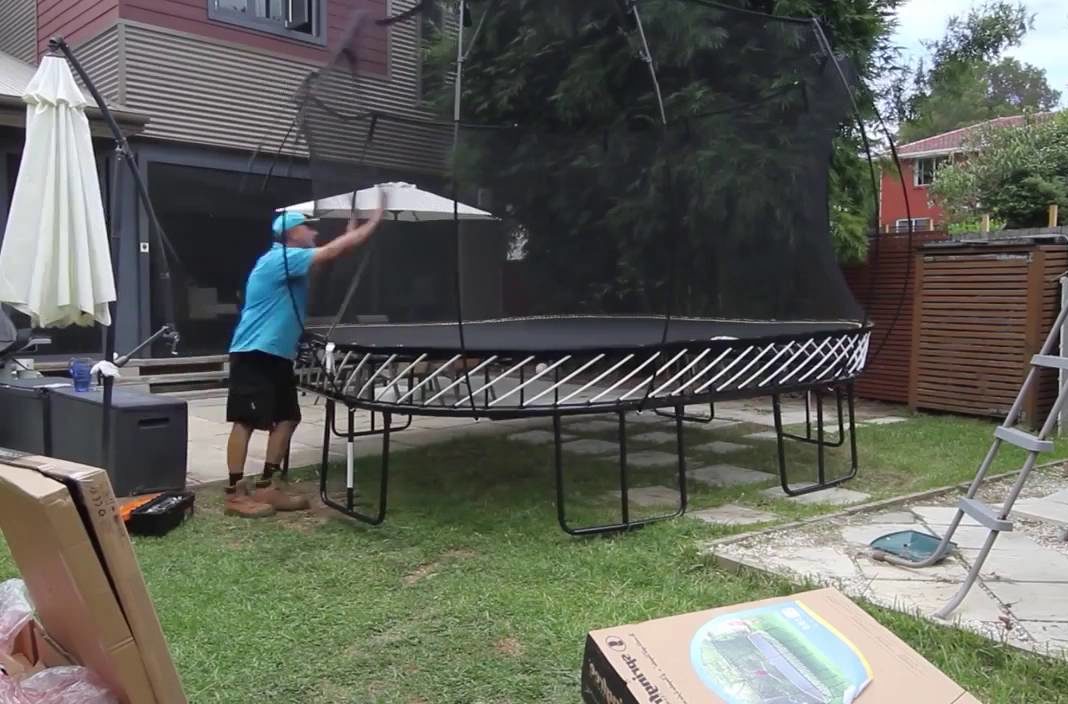
Once customers purchase this device they have to assemble it which can be a daunting task but with the step-by-step instructions, you will be well on your way to putting your new purchase together.
Unboxing your New Purchase
Once you get it home in the box and open it up you will be surprised to find how they crammed all the different pieces you need into such a small box.
Be sure and check the parts in the box with the material sheet to make sure that you have all the pieces you need to assemble the product otherwise you could find yourself on the final step and realize you’re missing a part.
Checking The Parts
Once you have checked to make sure that you have all the parts required for your new purchase assembly it’s time to start putting the pieces together.
There are a few different tools you will need in order to assemble your product that is not included with your purchase.
Below is a list of the following tools you will need:
- Mechanic tool set
- Screwdriver or Electric Drill
- Pulling Device or Pliers
- Rubber Mallet (Not Necessary But Recommended)
The Frame Assembly
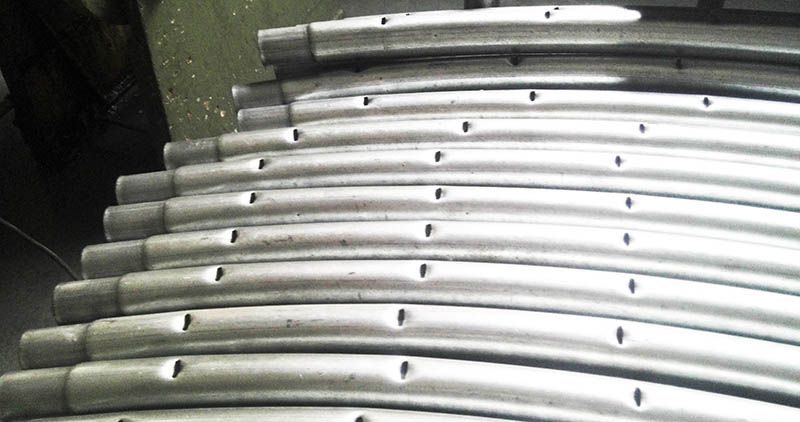
Now that you have the required tools it’s time to put the frame together. You’ll notice that there are lots of metal pipe pieces that are all angled in different directions. Using the diagram supplied with your kit you won’t want to assemble these pieces together in the fashion outlined in the instructions.
Usually, the pieces will fit together perfectly but you might have to snap them in a little bit or wiggle them to get the fit perfect.
Attaching The Net
It’s time to attach the net to the frame. You want to take the net out of its packaging and expanded it out to its full length and width. You should have noticed on the frame that there are certain rivets in the frame. These rivets are to hold your frame and the net together.
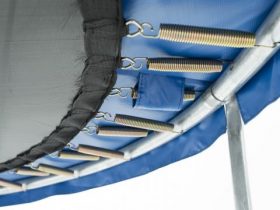
The springs will attach to the net and to the frame. So the first thing you want to do is to attach the springs to the frame. You might notice that the springs don’t easily go into the rivets on the frame so you might have to use your rubber mallet to hammer them in a bit.
Remember do not force anything or jam it as you could damage the parts. Once you have the springs in the frame it’s time to attach the net to the springs. I would recommend installing the net on a few springs on the north side than on the south side than on the west side then on the east side.
Once you have a couple of springs in all four directions you can then fill in the rest of the springs easily. You might have to stretch out the net a bit which is why you want some pliers or some other type of pulling device.
Installing The Spring Protector
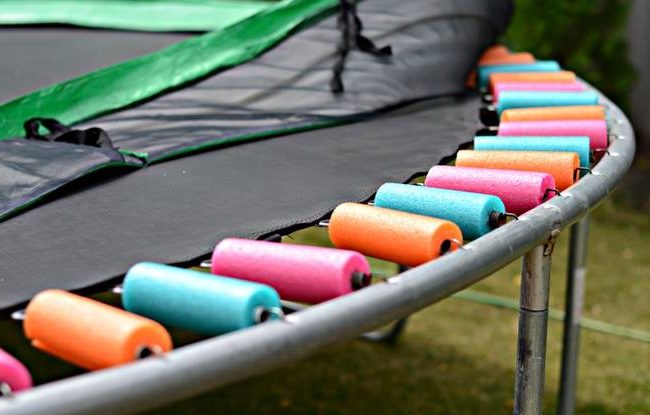
Now that you have been secured to the frame with the springs it’s time to install your spring protector. The reason for the spring protector is to protect against injuries when people are getting onto the device. Without the spring protector, people could cut themselves on the springs when they enter or leave the jumping area.
To install this piece just take it out of the packaging and spread it across the full area of the net and springs. You will notice some gaps in the frame on the edges where you can fit the string through to tie down the spring protector. All you have to do is tie down the spring protector on all sides and you’re done!
Don’t Have Time To Assemble?
Now it’s time to enjoy your newly assembled trampoline! People think that they are hard to assemble but in reality, it just takes a little bit of time and some great instructions like the ones we provided here.
If after reading this you still don’t think you can assemble your trampoline then don’t worry you can always get help from the retailer. Retailers usually have the staff they can assemble your trampoline for you.
These services are great if you can’t assemble your device or just don’t have time if you are giving this as a birthday gift to a friend or family member.


Leave a Reply
View Comments